Repository Setup
Now that your accounts are configured, let's set up the project repositories. We'll clone them to your local machine for development.
Understanding the Project Structure
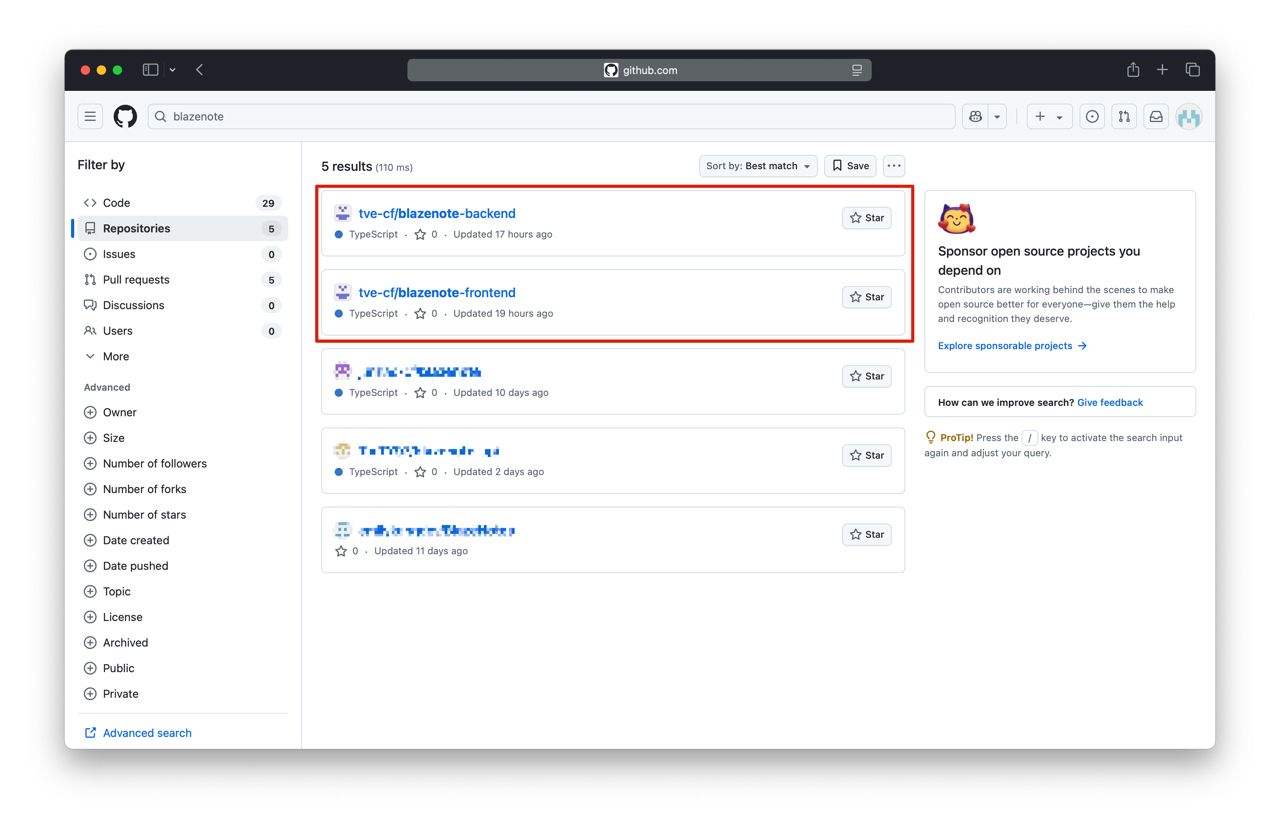
What are we building? We're creating a note-taking application with two separate repositories:
- Frontend (
blazenote-frontend): A React web application for the user interface - Backend (
blazenote-backend): Serverless API functions for data management
Why two repositories? Separating frontend and backend allows for:
- Independent deployment and scaling
- Clear separation of concerns
- Different development workflows
- Better team collaboration
Step 1: Clone Repositories to Your Local Machine
What is cloning? Cloning downloads a copy of your GitHub repository to your local computer where you can edit the code.
Choose Your Workspace Directory
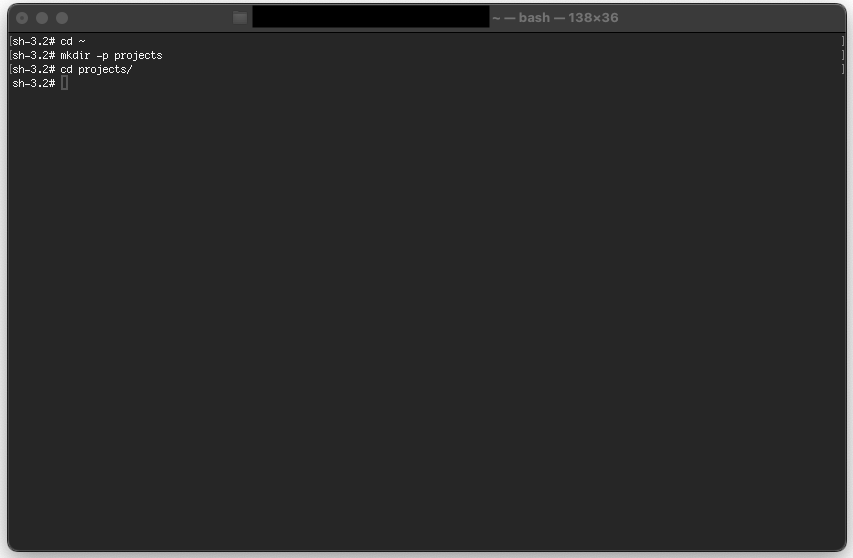
First, decide where you want to store your projects. We recommend creating a dedicated folder:
# Navigate to your home directory
cd ~

# Create a projects folder (if it doesn't exist)
mkdir -p projects

# Navigate into the projects folder
cd projects
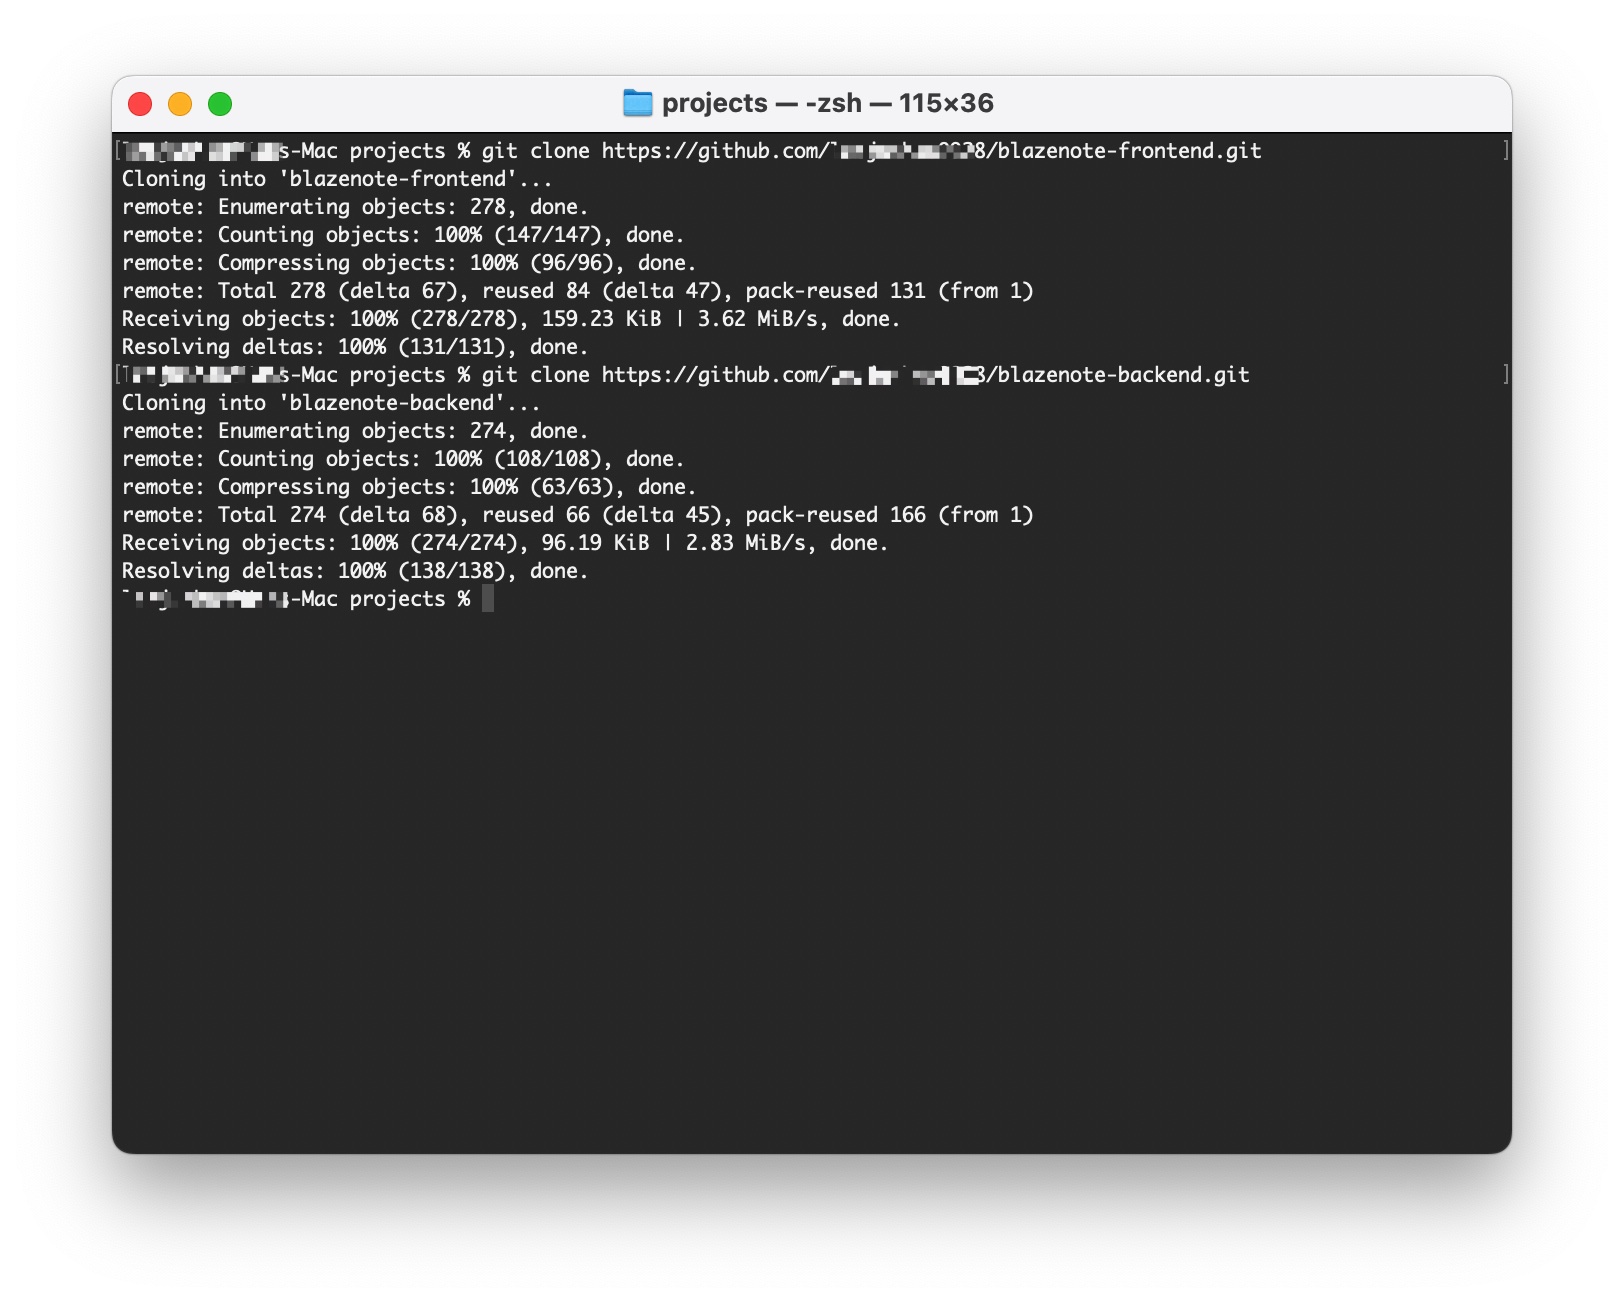
Clone the Frontend Repository
git clone https://github.com/tve-cf/blazenote-frontend.git
Clone the Backend Repository
git clone https://github.com/tve-cf/blazenote-backend.git
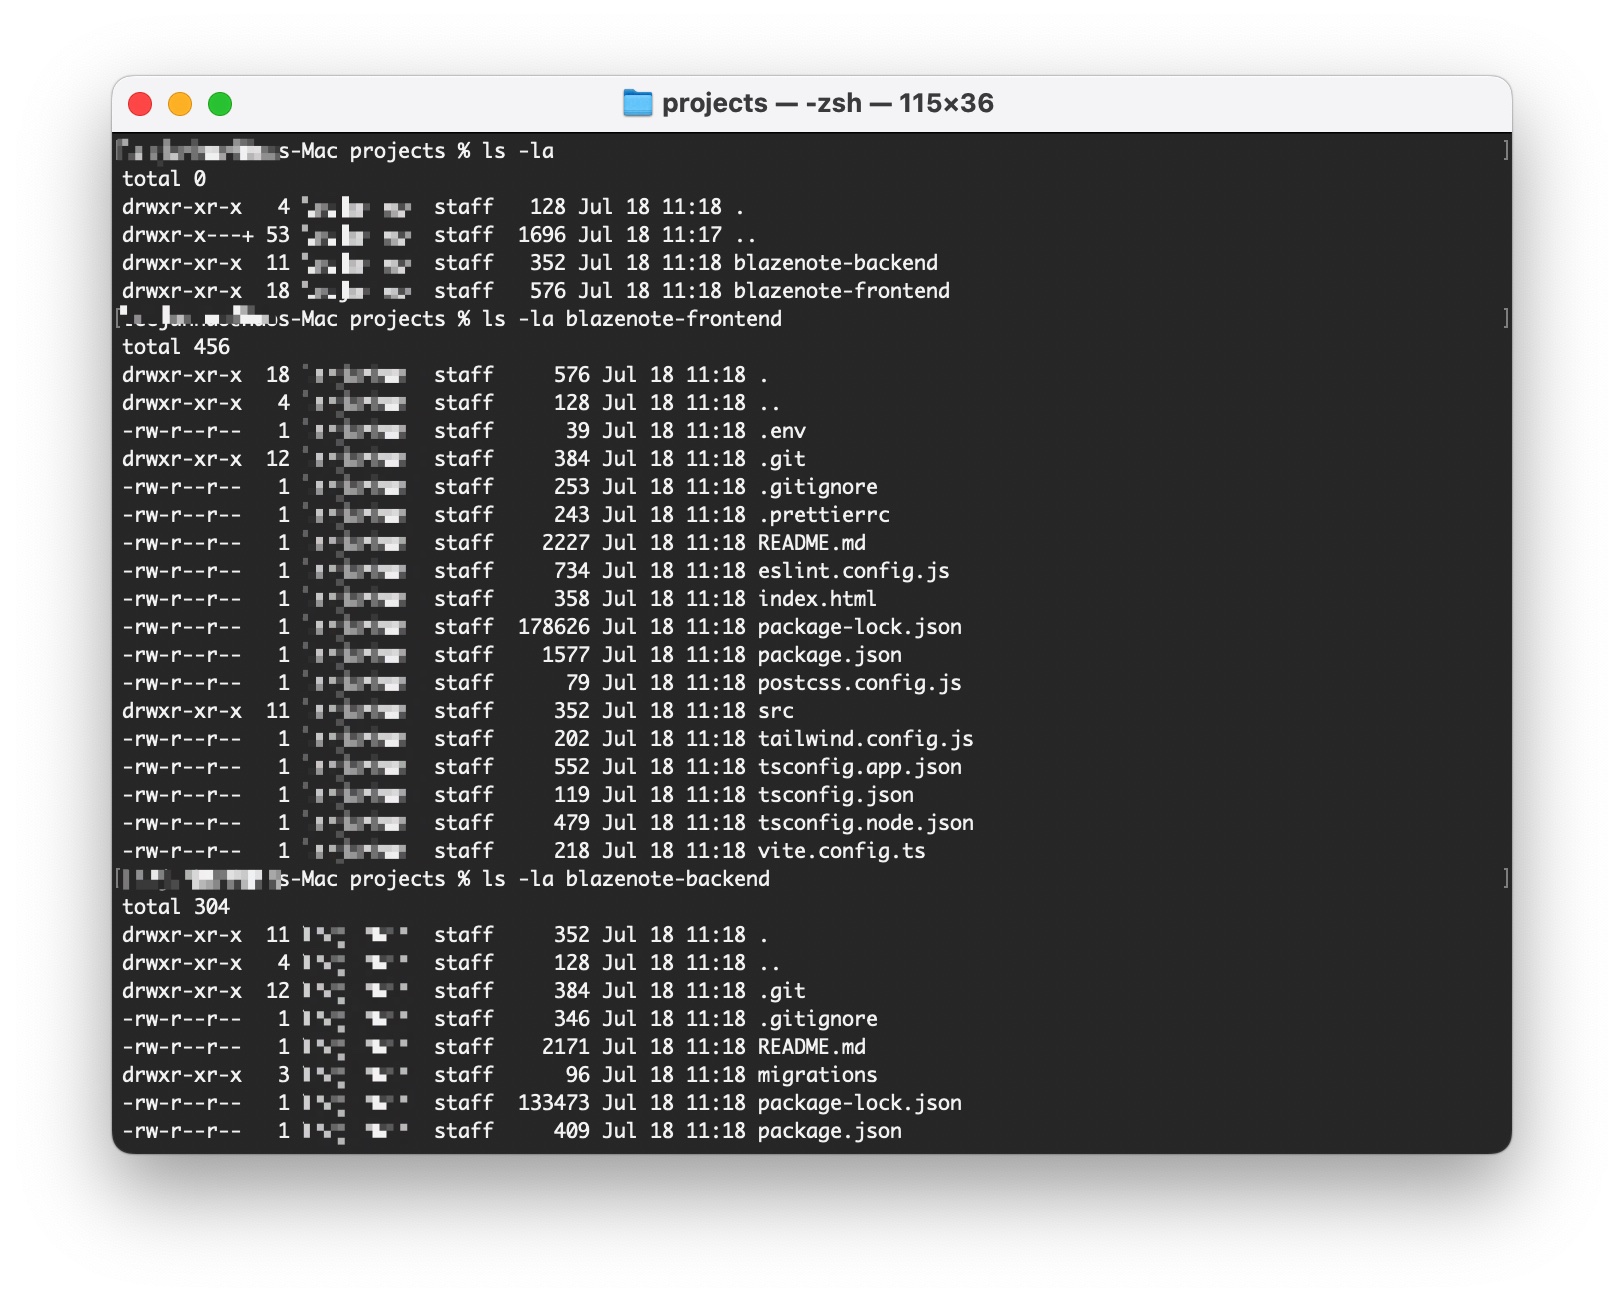
Verify Cloning Success
ls -la
You should see two directories:
blazenote-frontend/blazenote-backend/
Check repository contents:
# Check frontend structure
ls -la blazenote-frontend/

# Check backend structure
ls -la blazenote-backend/
Step 2: Switch to Working Branches
Why switch branches? The main branch contains the complete, finished application. The starter branch contains the basic setup where we'll begin building.
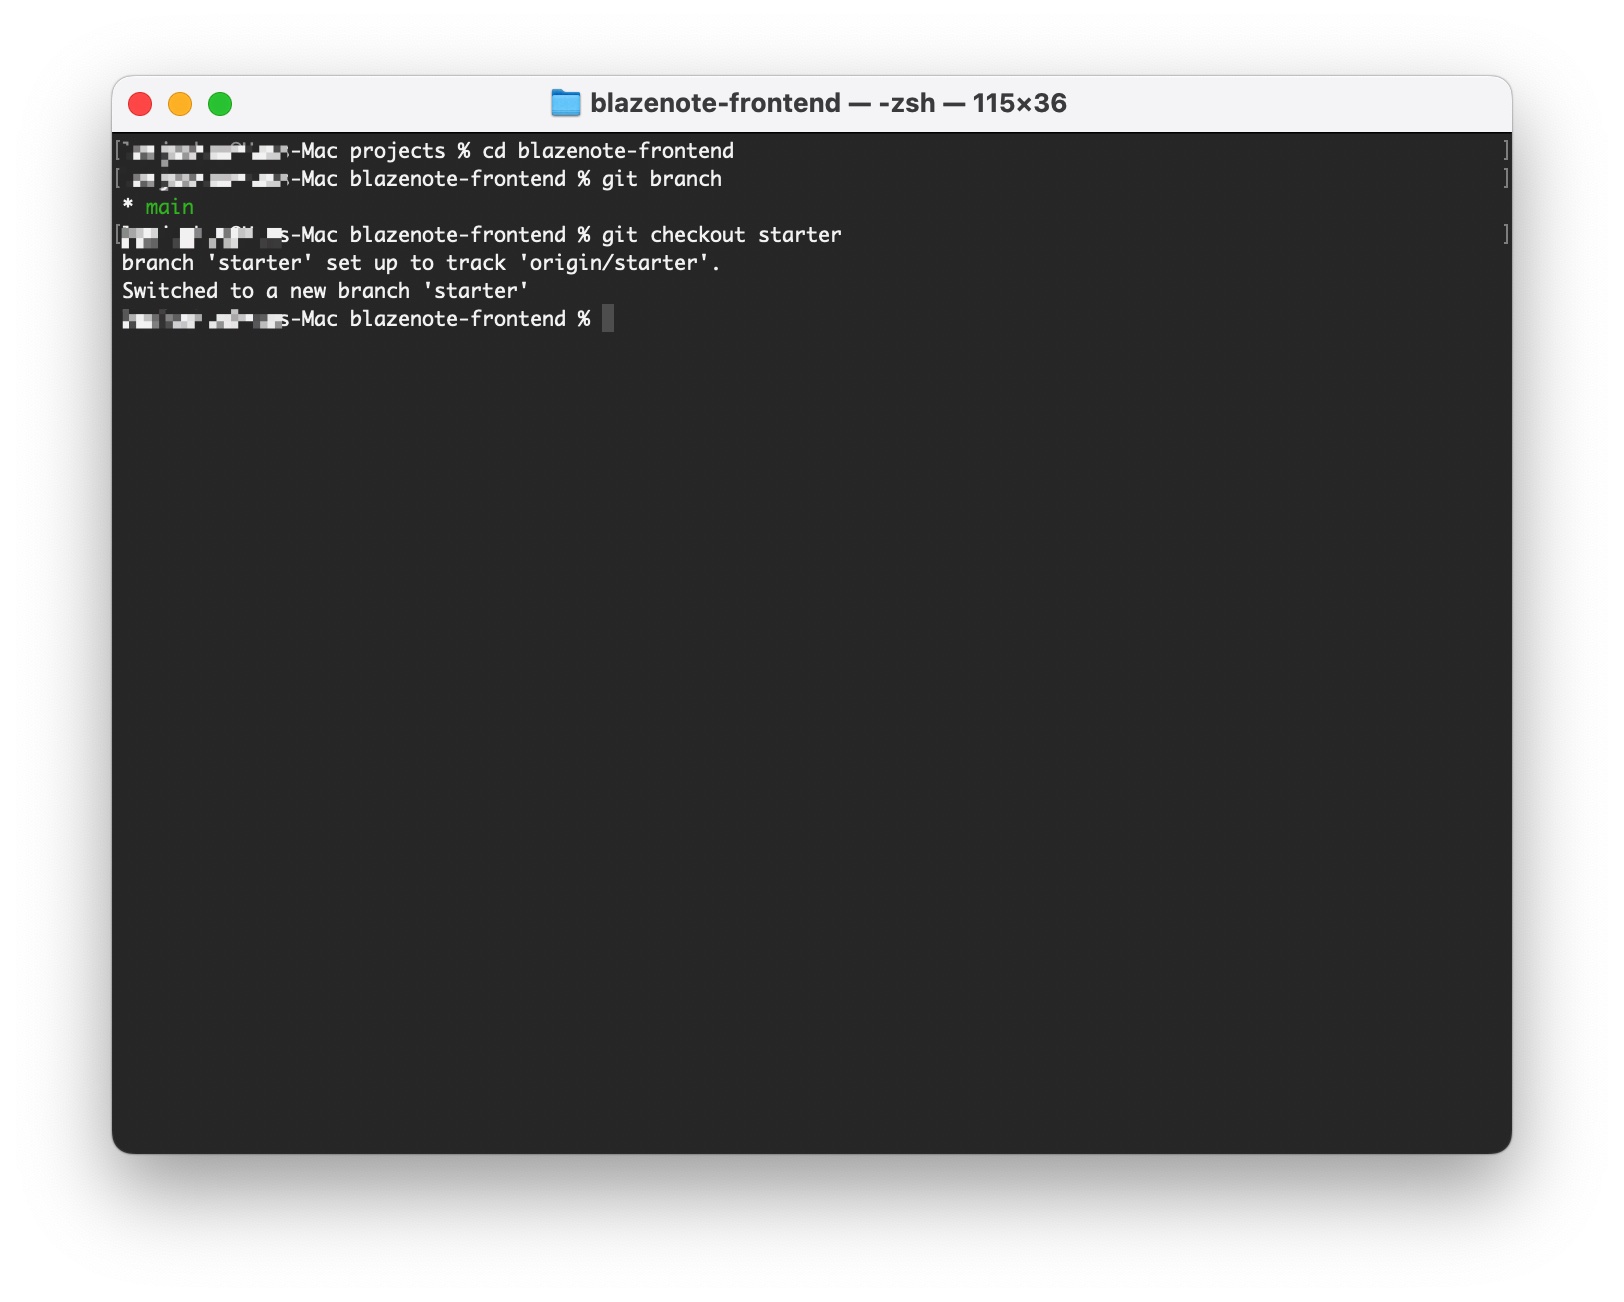
Switch Frontend Branch
Navigate to the frontend project:
cd blazenote-frontend
Check current branch:
git branch
You should see you're on the main branch (indicated by an asterisk *).
Switch to starter branch:
git checkout starter
Verify the switch:
git branch
Now you should see an asterisk * next to starter.
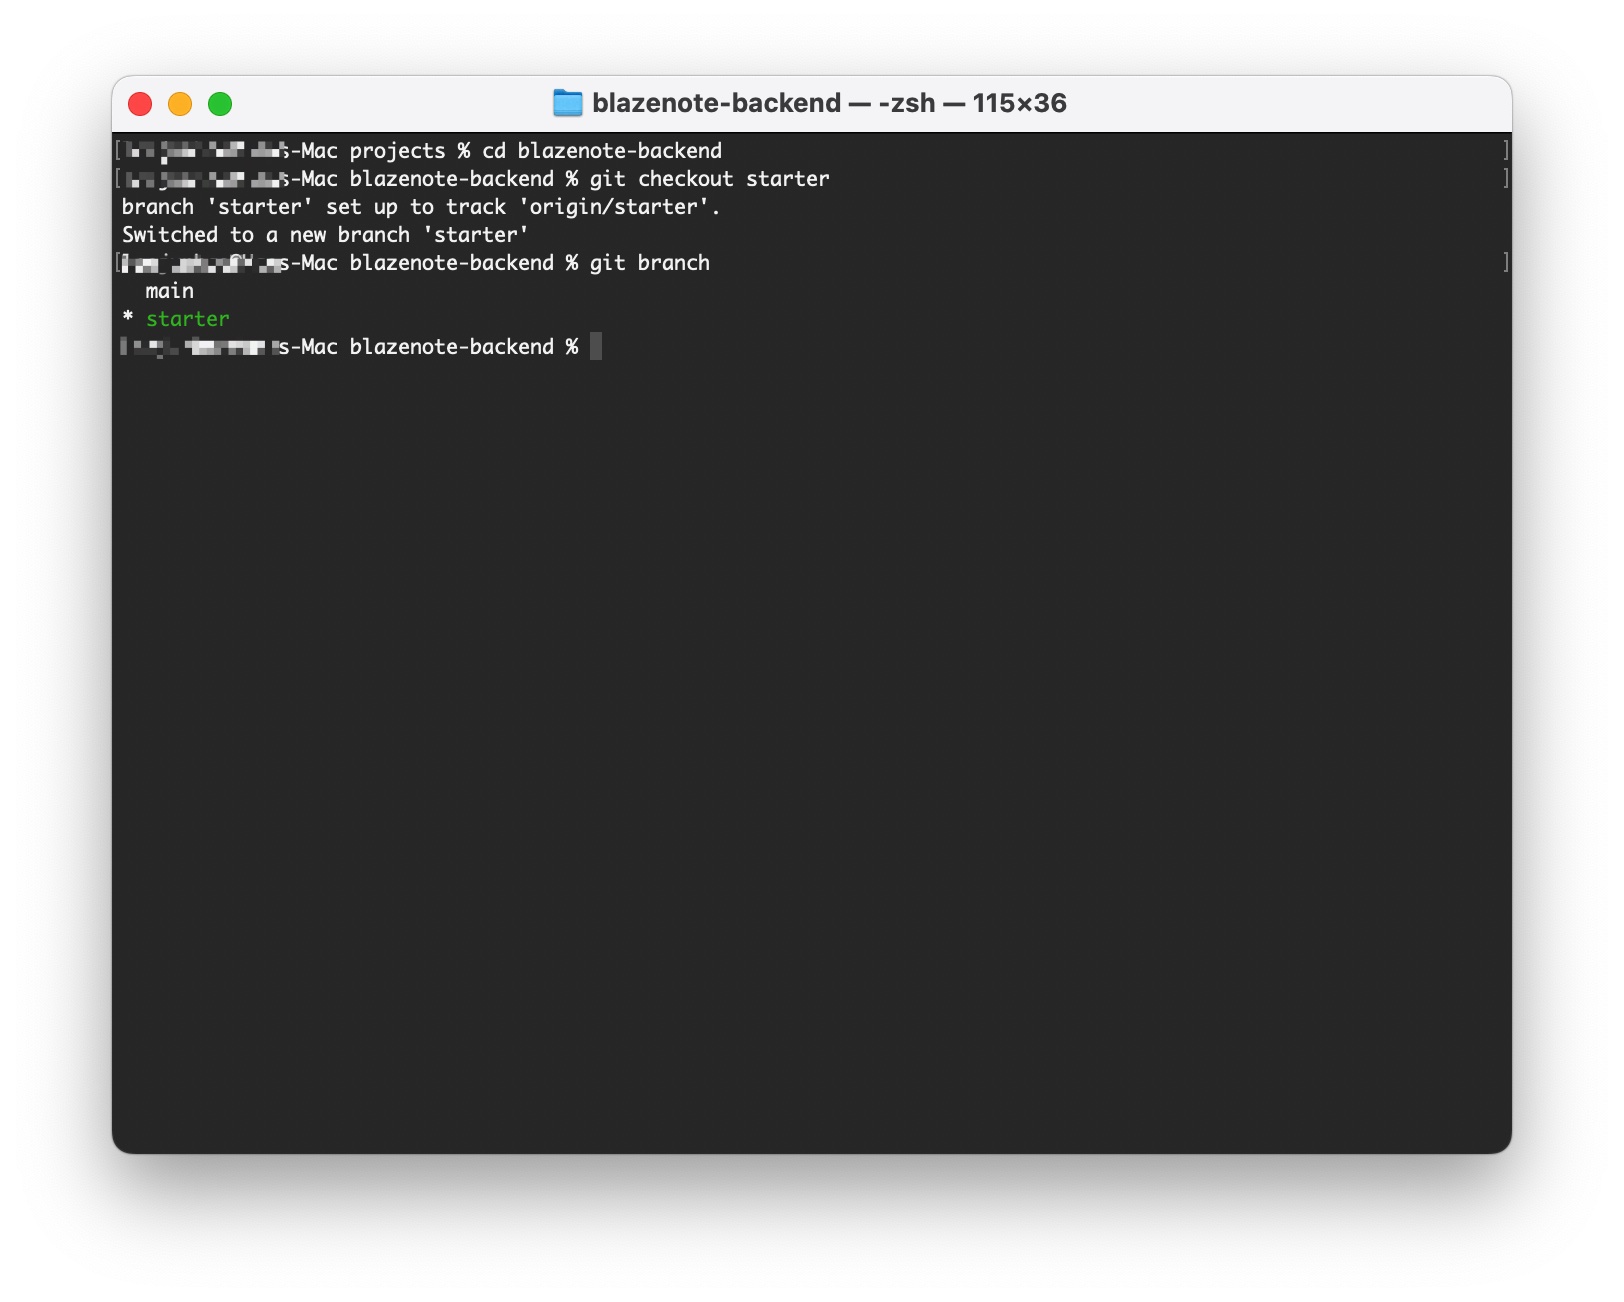
Switch Backend Branch
Navigate to the backend project:
cd ../blazenote-backend
Switch to starter branch:
git checkout starter
Verify backend branch switch:
git branch
You should see * starter indicating you're on the correct branch.
Step 3: Install Dependencies
Now that we have the repositories cloned and on the correct branches, let's install the project dependencies.
Install Frontend Dependencies
Navigate to the frontend project:
cd ~/projects/blazenote-frontend
Install dependencies:
npm install
This will install all the React dependencies, build tools, and other packages needed for the frontend application.
Install Backend Dependencies
Navigate to the backend project:
cd ~/projects/blazenote-backend
Install dependencies:
npm install
This will install all the Cloudflare Workers dependencies, database tools, and other packages needed for the backend API.
Verify Installation
Check frontend dependencies:
cd ~/projects/blazenote-frontend
ls -la node_modules/
# Should show many directories with installed packages
Check backend dependencies:
cd ~/projects/blazenote-backend
ls -la node_modules/
# Should show many directories with installed packages
What are dependencies? Dependencies are external packages and libraries that your project needs to function. The package.json file lists all required dependencies, and npm install downloads and installs them locally.
Need Help?
Repository Issues:
- Check internet connection for cloning
- Verify you have access to the repositories
Branch Issues:
- Use
git branch -ato see all available branches - The source repository includes both
mainandstarterbranches
Permission Issues:
- Set up SSH keys for easier authentication
- Use personal access tokens if needed
- Check the Troubleshooting Guide
Great job! Your code repositories are ready for development! 🎯