Prerequisites & Tools Installation
Before we begin development, let's ensure you have all the necessary tools installed and properly configured. This guide covers installation for all major operating systems.
Tool Installation Overview
We'll install and configure these essential development tools:
- Git: Version control system for managing code changes
- Node.js & npm: JavaScript runtime and package manager
- Wrangler CLI: Cloudflare's command-line tool for deployment


Opening Your Terminal
Before we begin installing tools, you'll need to know how to open a terminal (command line interface) on your operating system. All the commands in this guide will be executed in the terminal.
- macOS
- Linux (Ubuntu/Debian)
- Windows
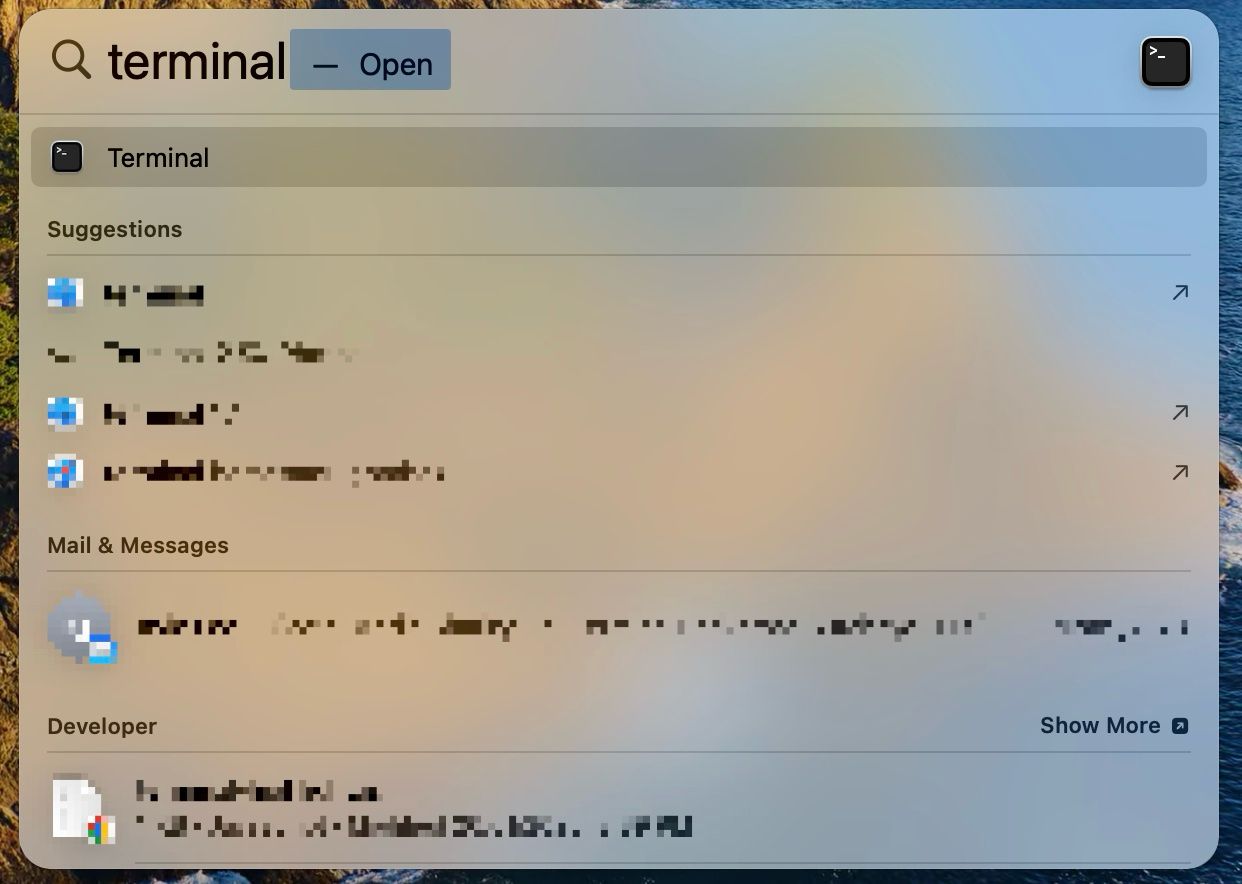
Method 1: Spotlight Search
- Press
Cmd + Spaceto open Spotlight - Type "Terminal" and press Enter
Method 2: Finder
- Open Finder
- Navigate to Applications → Utilities → Terminal
Method 3: Launchpad
- Press F4 or click Launchpad in the Dock
- Search for "Terminal" or look in the "Other" folder
Method 1: Keyboard Shortcut
- Press
Ctrl + Alt + T(works on most Linux distributions)
Method 2: Applications Menu
- Click the "Show Applications" button (9 dots)
- Search for "Terminal" or look in "System Tools"
Method 3: Right-click Menu
- Right-click on the desktop
- Select "Open Terminal" (if available)
Method 1: Windows Key + R
- Press
Windows + R - Type
cmdand press Enter (for Command Prompt) - Or type
powershelland press Enter (for PowerShell - recommended)
Method 2: Start Menu
- Click Start menu
- Type "PowerShell" or "Command Prompt"
- Select "Windows PowerShell" or "Command Prompt"
Method 3: Windows Terminal (Modern)
- Install from Microsoft Store: "Windows Terminal"
- Press
Windows + Xand select "Windows Terminal"
Recommended for Development:
- Use PowerShell instead of Command Prompt
- Consider installing Git Bash (comes with Git installation)
- Or use WSL (Windows Subsystem for Linux) for the best experience
Terminal vs Command Prompt vs PowerShell:
- macOS/Linux: "Terminal" is the standard command-line interface
- Windows:
- Command Prompt (cmd) - Basic, limited functionality
- PowerShell - More powerful, recommended for development
- Git Bash - Unix-like environment (installed with Git)
- WSL - Full Linux environment within Windows


1. Git Installation & Verification
What is Git? Git is a version control system that tracks changes in your code and allows collaboration with other developers.
Check if Git is Already Installed
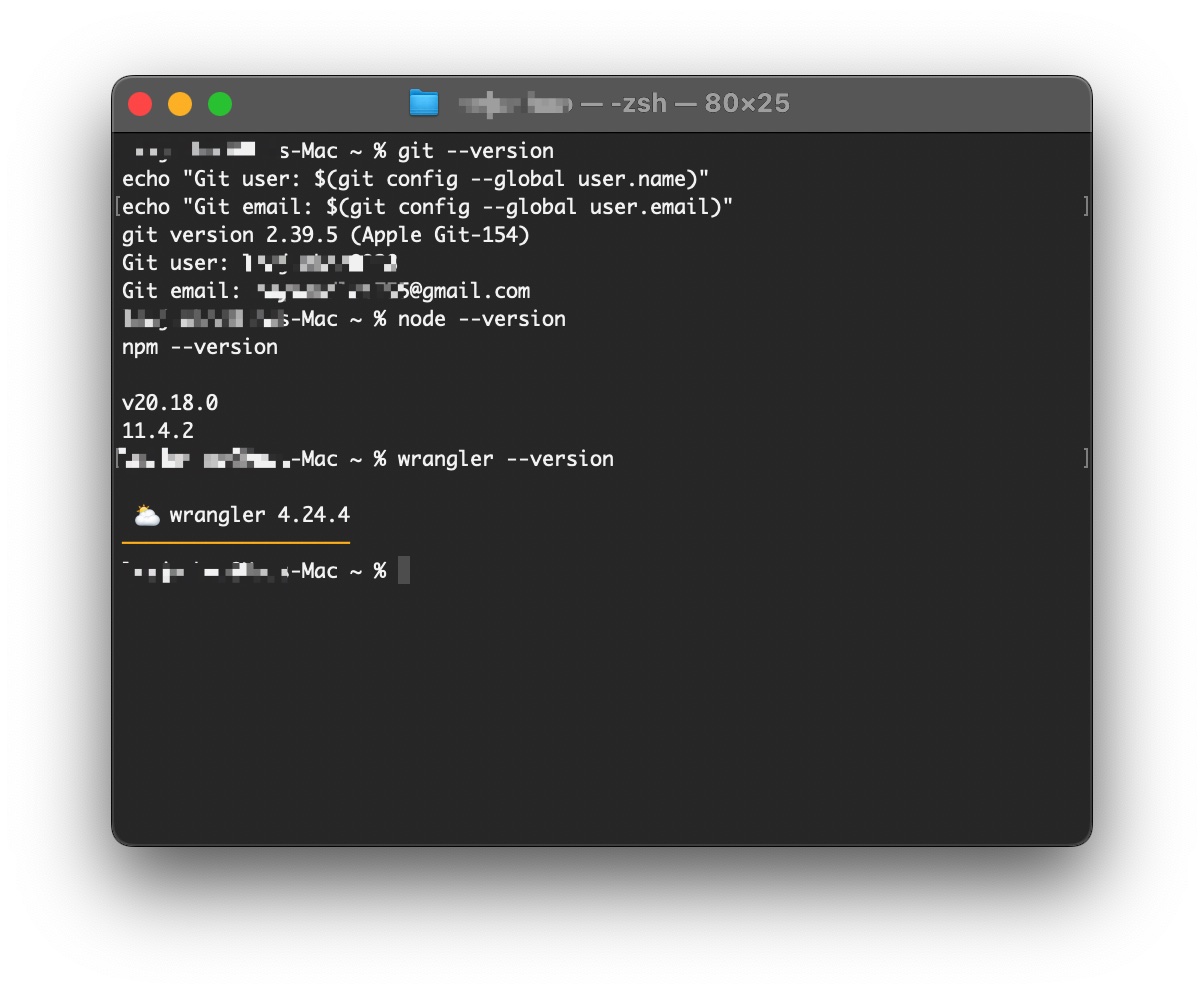
git --version
Expected output: git version 2.x.x (any version 2.0 or higher is fine)

- macOS
- Linux (Ubuntu/Debian)
- Windows (Git Bash)
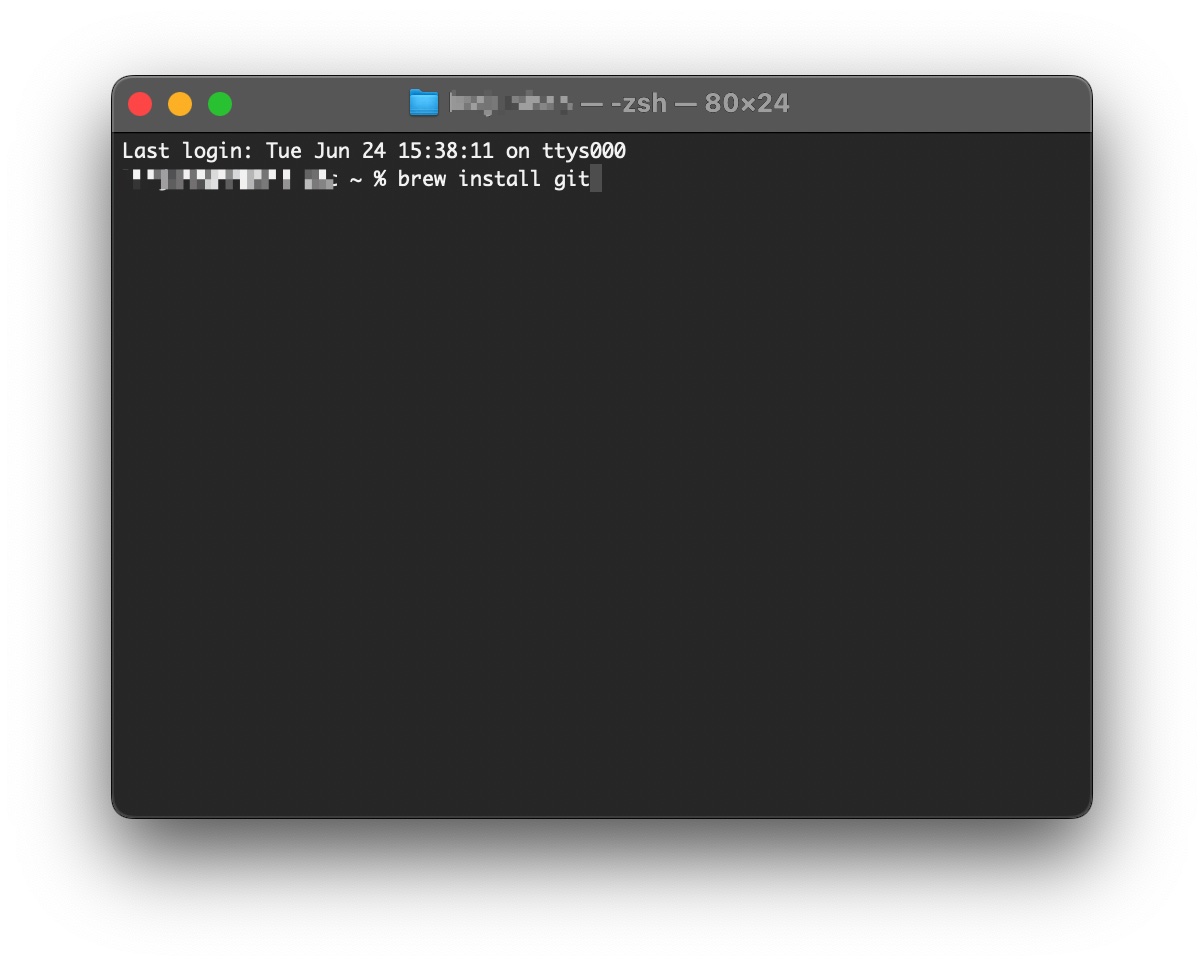
 # Using Homebrew (recommended)
 brew install git

 # Or download from: https://git-scm.com/download/mac
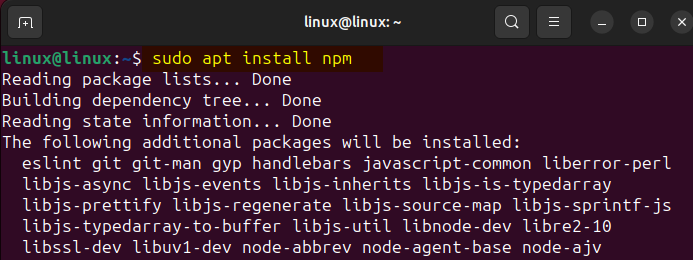
 sudo apt update
 sudo apt install git
- Download Git from git-scm.com/downloads/win
- Run the installer with default settings
Configure Git (First-time setup)
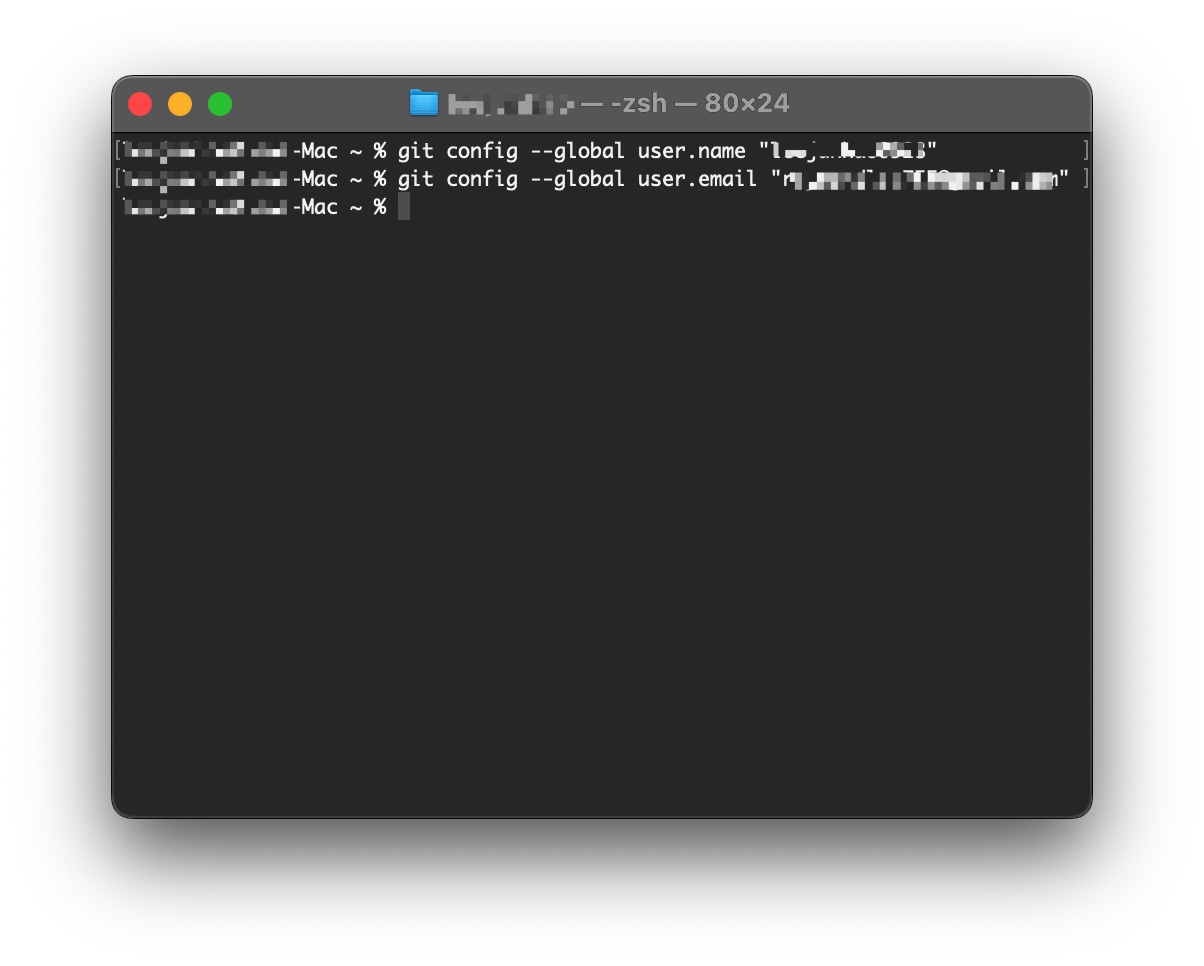
After installation, configure Git with your information:
git config --global user.name "Your Name"
git config --global user.email "your.email@example.com"
2. Node.js Installation
What is Node.js? Node.js is a JavaScript runtime that allows you to run JavaScript code outside of a web browser. We need it to run our development tools.
Check Current Installation
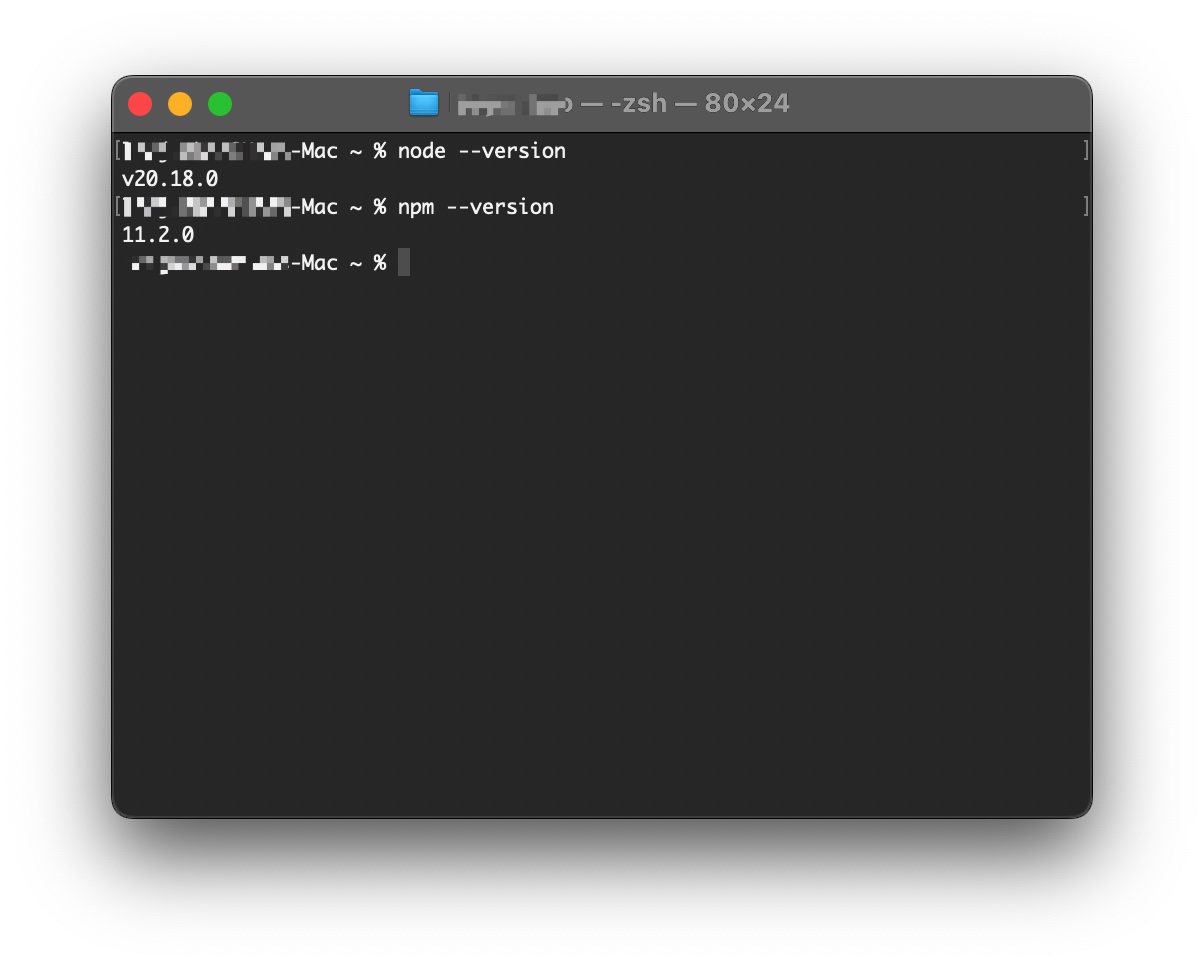
node --version
Required version: v18 or higher (v18.x.x, v20.x.x, etc.)
Install Node.js
For All Platforms:
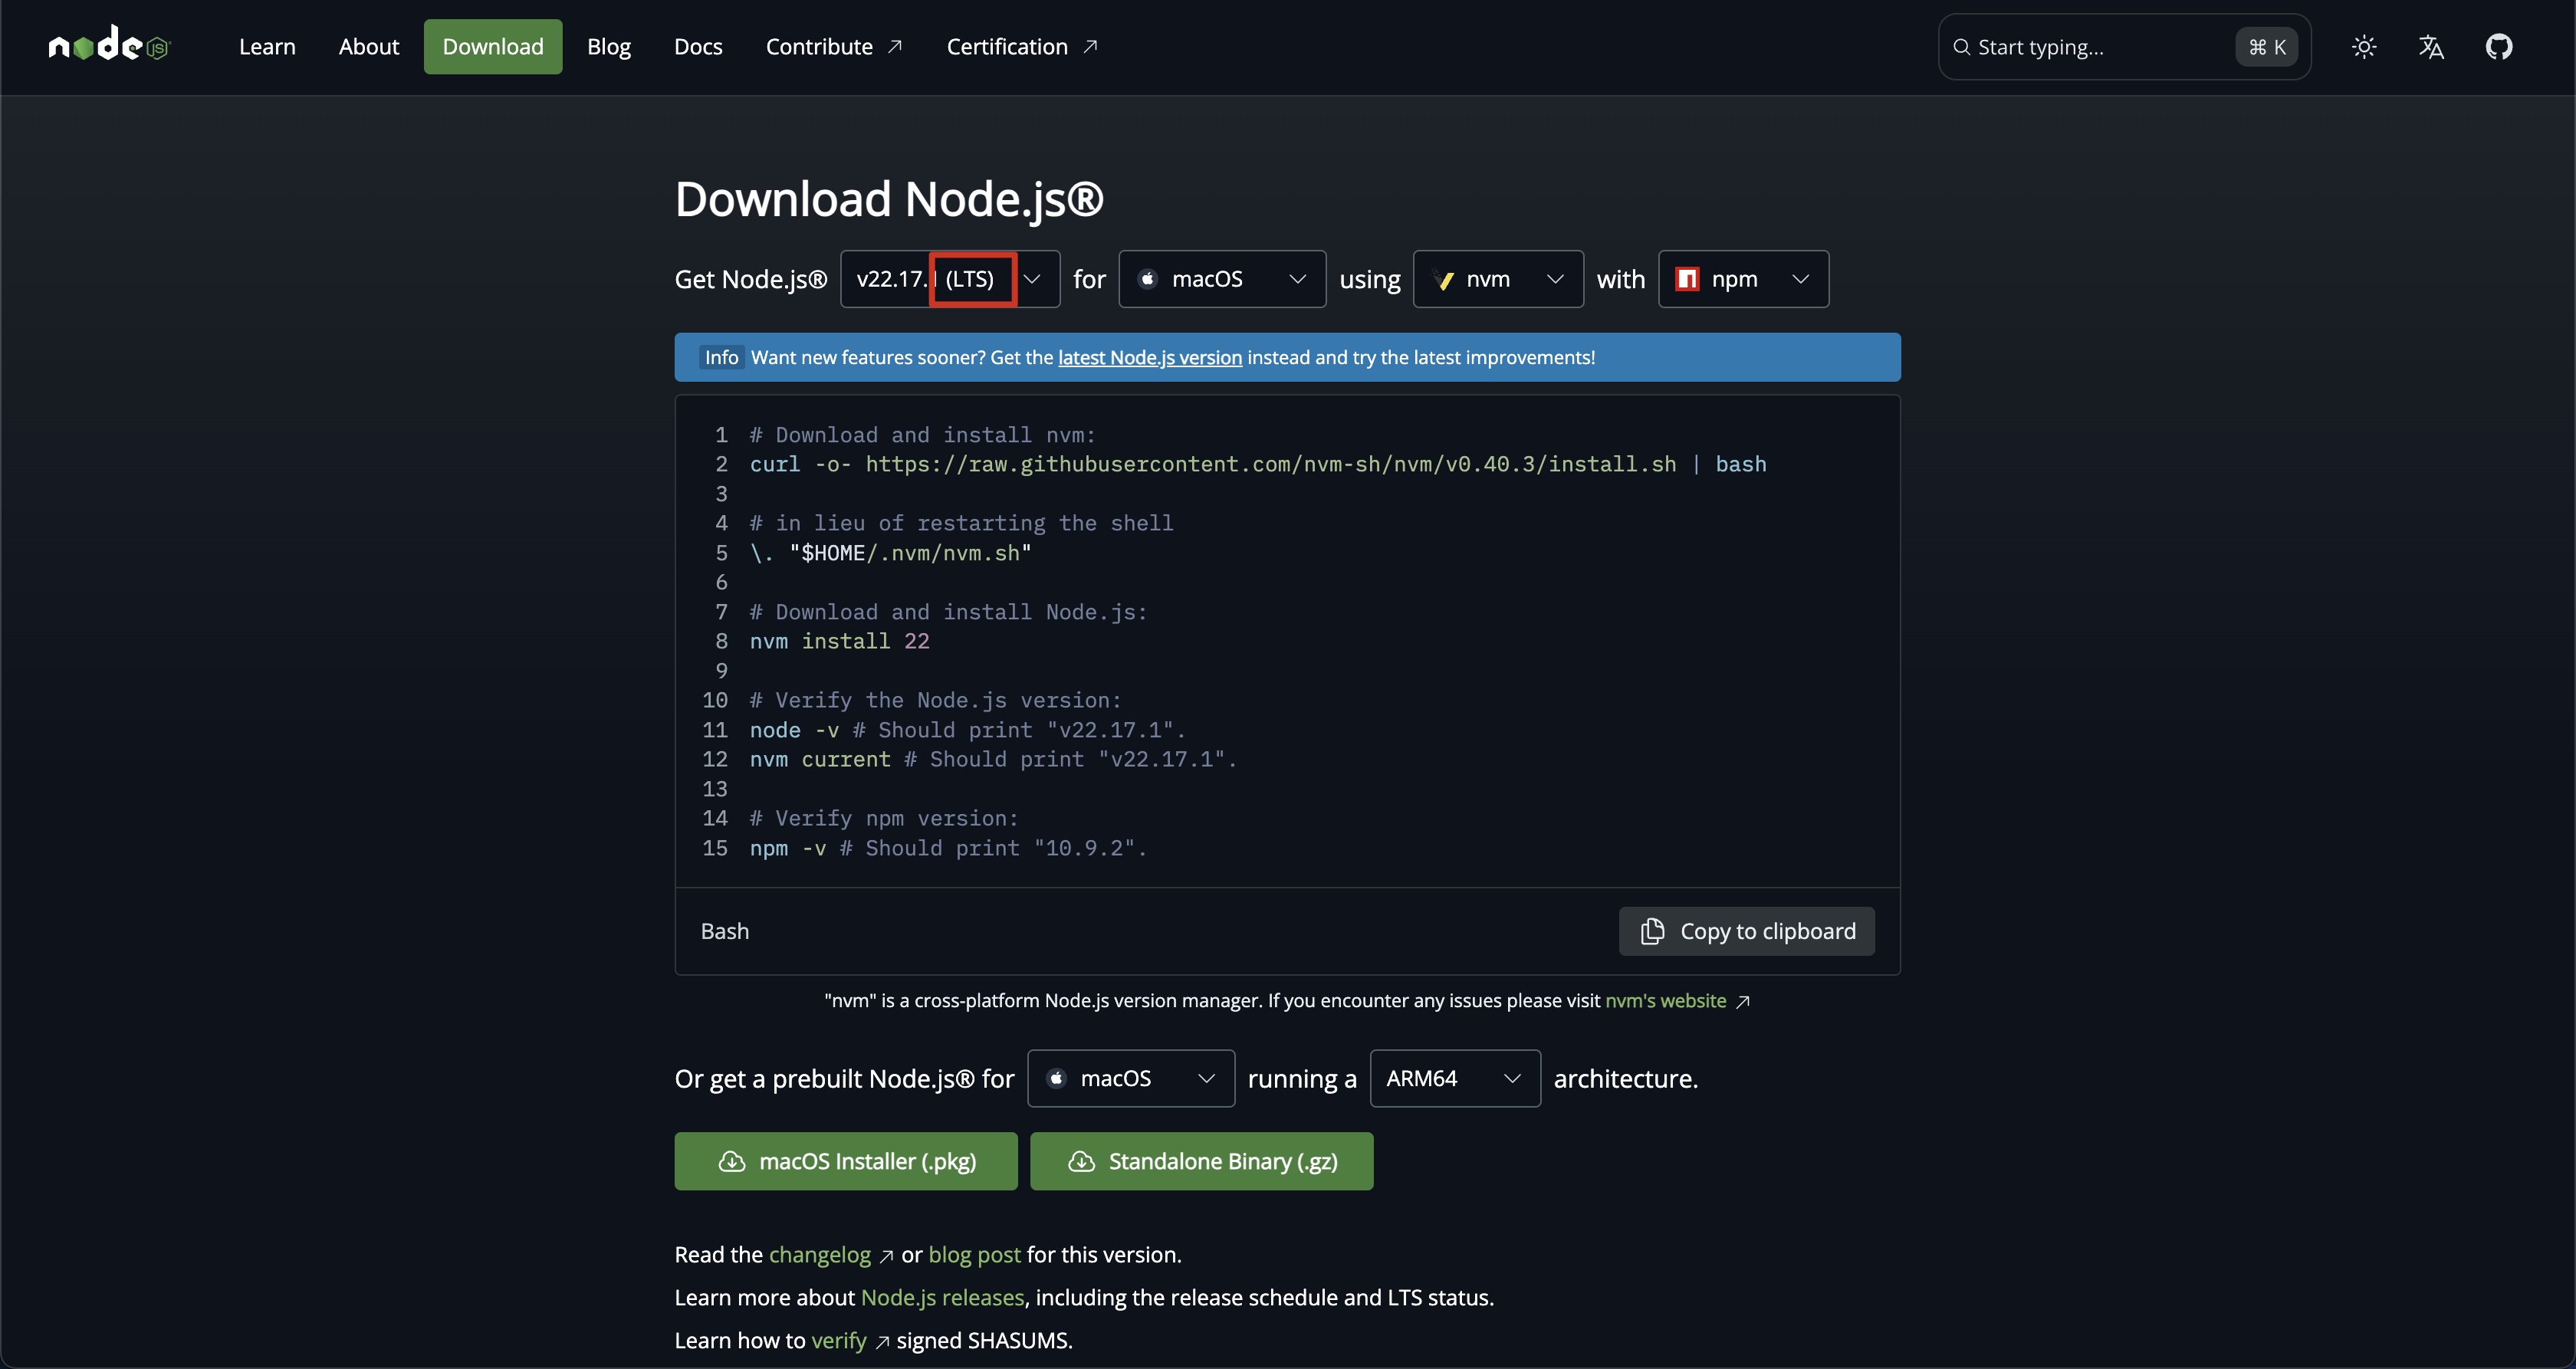
- Visit nodejs.org
- Download the LTS (Long Term Support) version
- Run the installer with default settings
- Restart your terminal/command prompt
- Verify installation:
node --version
Verify npm Installation
npm (Node Package Manager) is installed automatically with Node.js:
npm --version
Expected output: Version 9.x.x or higher
3. Wrangler CLI Installation
What is Wrangler? Wrangler is Cloudflare's command-line tool that helps us deploy and manage serverless applications.
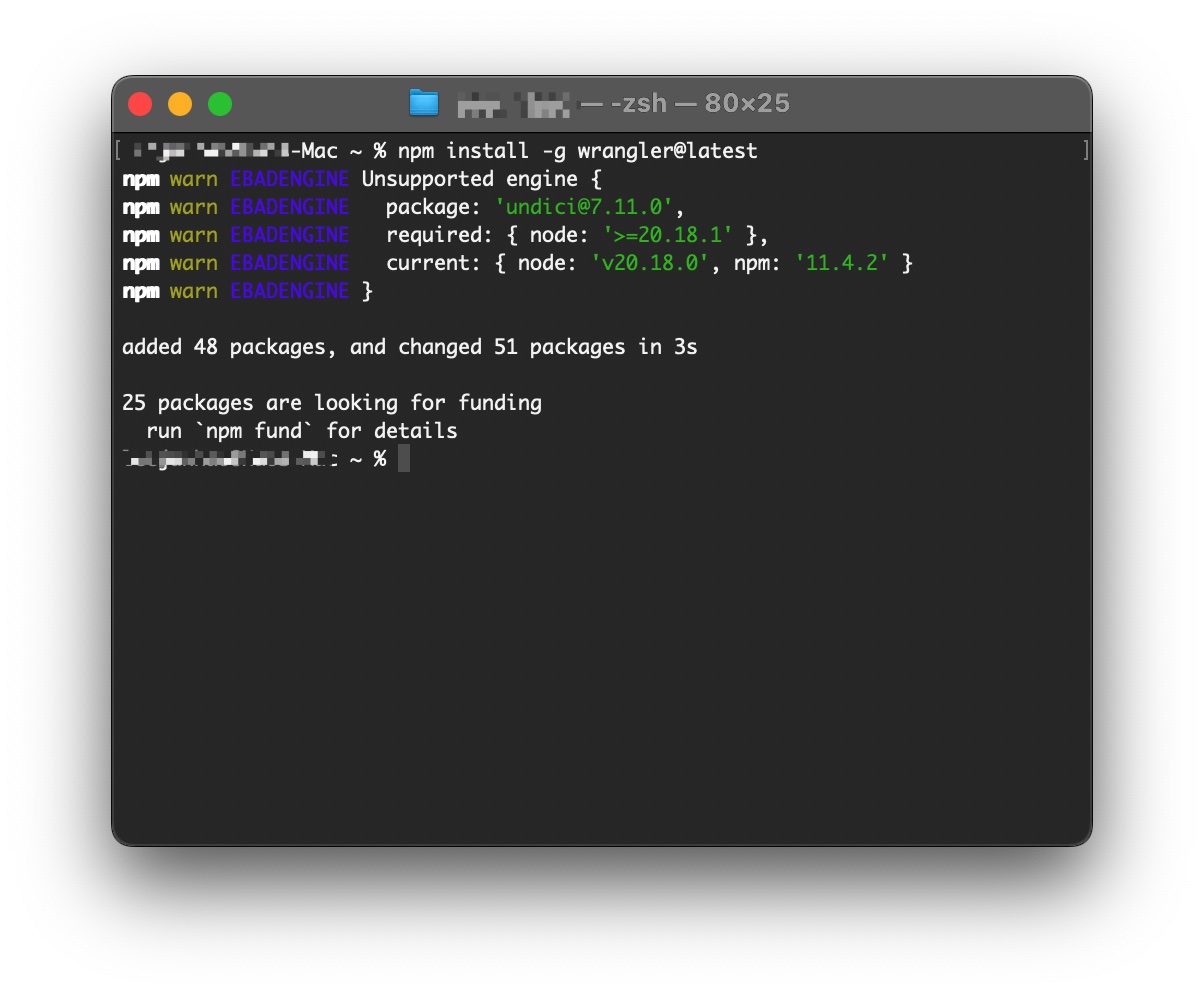
Install Wrangler Globally
npm install -g wrangler@latest
Verify Installation
wrangler --version
Expected output: Something like 3.x.x or higher

Troubleshooting Wrangler Installation
Permission Errors:
- macOS/Linux: Try
sudo npm install -g wrangler@latest - Windows: Run Command Prompt as Administrator
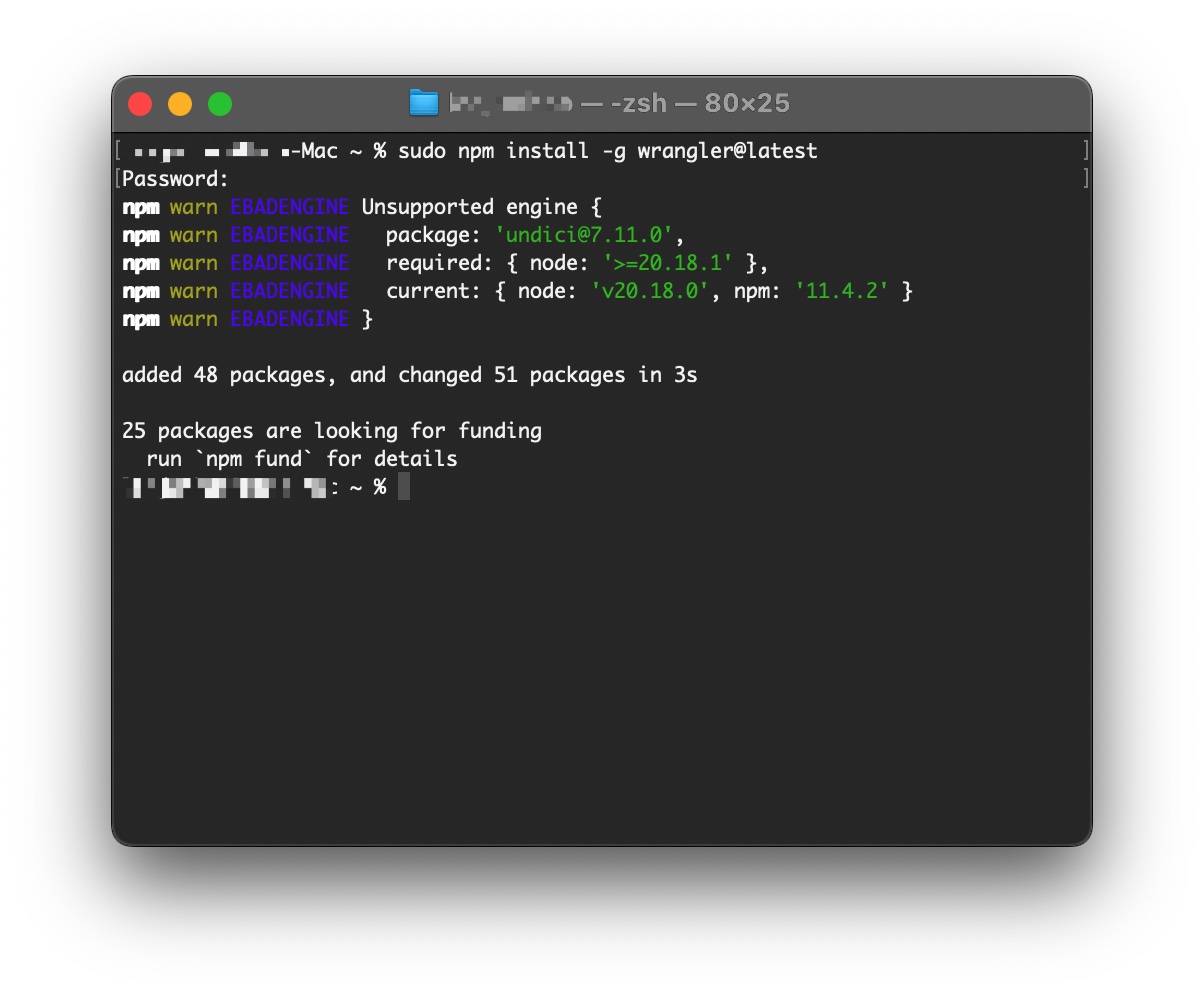
Installation Failures:
- Ensure Node.js is properly installed first
- Try clearing npm cache:
npm cache clean --force - Restart terminal and try again
4. Platform-Specific Setup
Windows Users (Important)
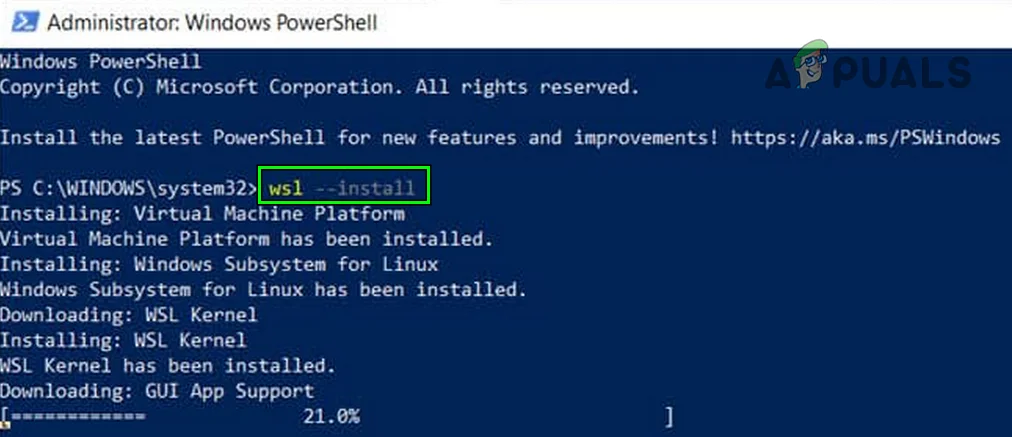
Windows Subsystem for Linux (WSL) - Strongly Recommended
For the best development experience on Windows, we recommend installing WSL:
- Open PowerShell as Administrator
- Run:
wsl --install - Restart your computer
- Follow the Ubuntu setup process
- Install all tools within the WSL environment
Alternative for Windows: If you prefer not to use WSL, ensure you're using:
- Git Bash or PowerShell (not Command Prompt)
- Windows Terminal for better command-line experience
macOS Users
Install Homebrew (Package Manager)
Homebrew makes installing development tools easier:
/bin/bash -c "$(curl -fsSL https://raw.githubusercontent.com/Homebrew/install/HEAD/install.sh)"

Then you can install tools using:
brew install git
brew install node
Linux Users
Most Linux distributions come with package managers that make installation straightforward:
Ubuntu/Debian:
sudo apt update
sudo apt install git nodejs npm
CentOS/RHEL/Fedora:
sudo dnf install git nodejs npm
5. Final Verification
Run this comprehensive verification to ensure everything is working:
# Check Git
git --version
echo "Git user: $(git config --global user.name)"
echo "Git email: $(git config --global user.email)"

# Check Node.js and npm
node --version
npm --version

# Check Wrangler
wrangler --version
Expected Output Example
git version 2.42.0
Git user: Your Name
Git email: your.email@example.com
v20.9.0
10.1.0
3.15.0
6. IDE/Editor Setup (Optional but Recommended)
Visual Studio Code
Install VS Code:
- Download from code.visualstudio.com
- Install with default settings
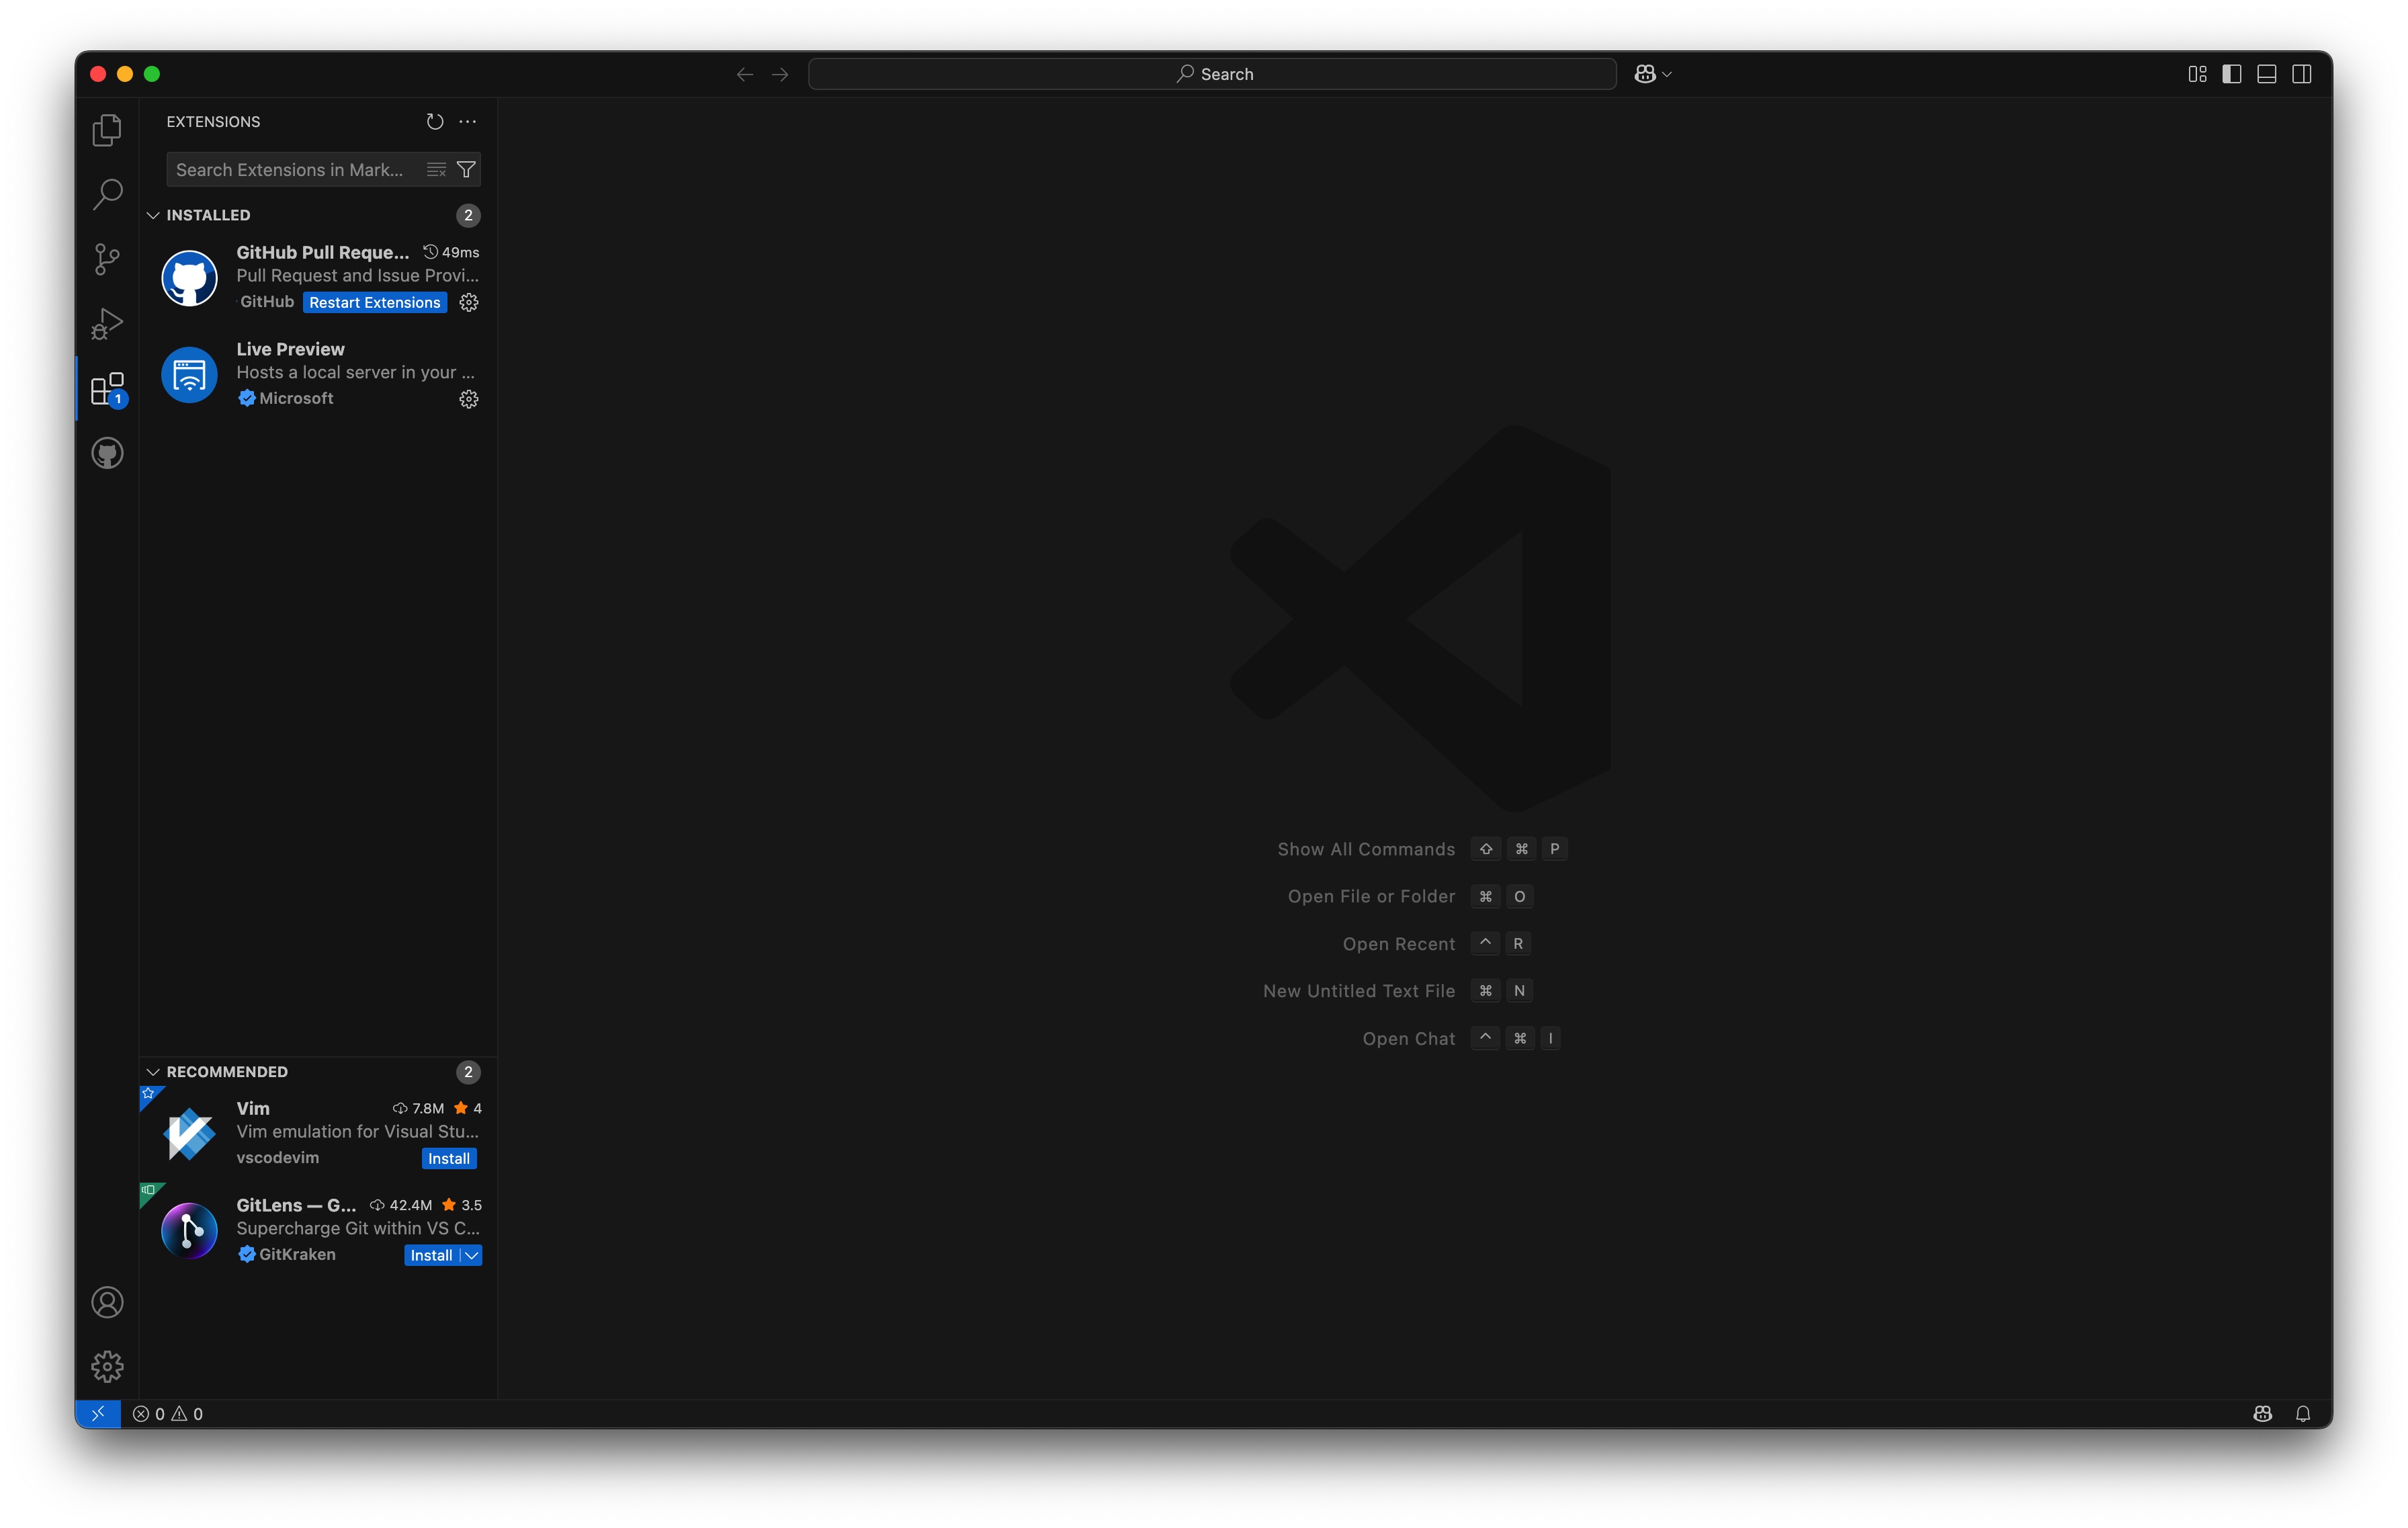
Recommended Extensions:
- ES7+ React/Redux/React-Native snippets: For React development
- Tailwind CSS IntelliSense: For CSS autocompletion
- TypeScript and JavaScript Language Features: Enhanced TypeScript support
- Git Lens: Enhanced Git integration
- Prettier: Code formatting
Alternative Editors
Zed (Modern, Fast):
- Download from zed.dev
- Great performance for large projects
WebStorm (Full-featured):
- Professional IDE from JetBrains
- Includes all necessary tools built-in
Need Help?
If you encounter issues with any installations:
- Check the Troubleshooting Guide
- Ensure you're using the latest versions of installers
- Try restarting your terminal/computer after installations
- Ask workshop facilitators for assistance
Remember: Taking time to get the tools properly installed now will save you hours of debugging later! 🛠️