Environment Configuration
Now that your repositories are set up, let's install project dependencies and configure your development environment. This final step ensures everything is ready for active development.
Overview
In this section, we'll:
- Verify your complete development environment setup
- Test that all system tools are properly configured
- Validate that repositories are ready for development
- Complete the final setup validation
Step 1: System Tools Verification
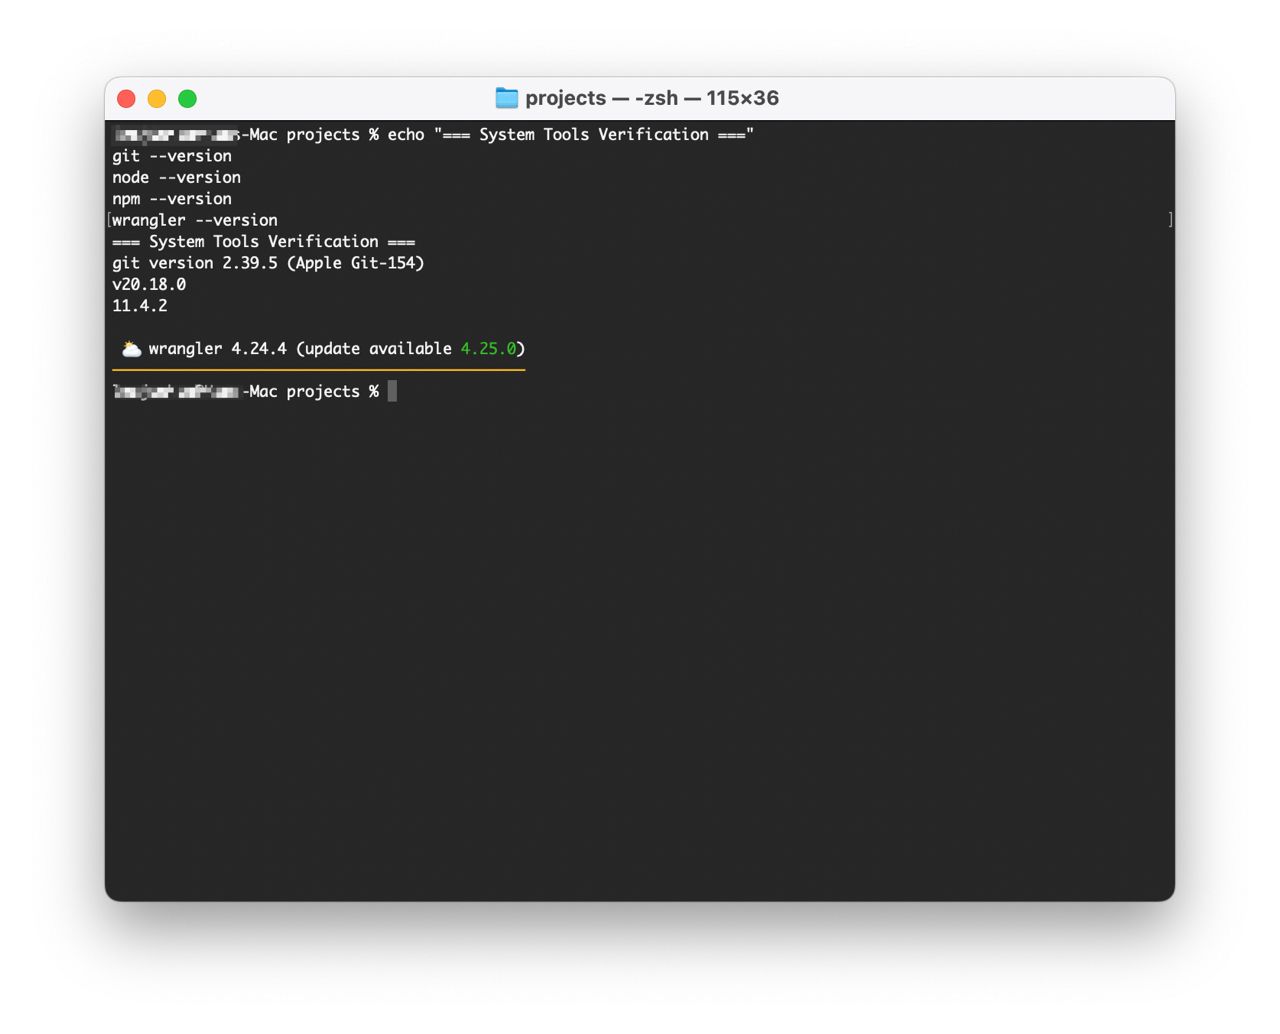
Let's verify that all required tools are properly installed and configured:
# Check all required tools
echo "=== System Tools Verification ==="
git --version
node --version
npm --version
wrangler --version
Expected output example:
=== System Tools Verification ===
git version 2.39.0
v18.17.0
9.6.7
⛅️ wrangler 3.15.0
Step 2: Repository Structure Validation
Verify that your repositories are properly set up:
# Check repository structure
echo "=== Repository Structure ==="
ls -la ~/projects/
You should see:
blazenote-frontend/directoryblazenote-backend/directory
Check that you're on the correct branches:
# Check frontend branch
cd ~/projects/blazenote-frontend && git branch
echo "Frontend branch: $(git branch --show-current)"

# Check backend branch
cd ~/projects/blazenote-backend && git branch
echo "Backend branch: $(git branch --show-current)"
Expected output:
Frontend branch: starter
Backend branch: starter

Step 3: Final Environment Validation
Let's run a comprehensive check to ensure everything is working:
System Tools Verification
# Check all required tools
echo "=== System Tools ==="
git --version
node --version
npm --version
wrangler --version
Environment Configuration Checklist
Before proceeding to development, verify:
System Tools
- Git installed and configured with user information
- Node.js (v18+) installed and accessible
- npm package manager working
- Wrangler CLI installed and working
Repository Setup
- Both repositories cloned successfully
- Currently on
starterbranch in both projects - Can navigate between project directories
- Git remote origins properly configured
Account Authentication
- GitHub account configured and accessible
- Cloudflare account created and accessible
- Wrangler CLI authenticated with Cloudflare
- All accounts properly linked
Development Readiness
- All tools respond without errors
- Project directories contain expected files
- Ready to begin deployment modules
- All prerequisites completed
Troubleshooting Common Issues
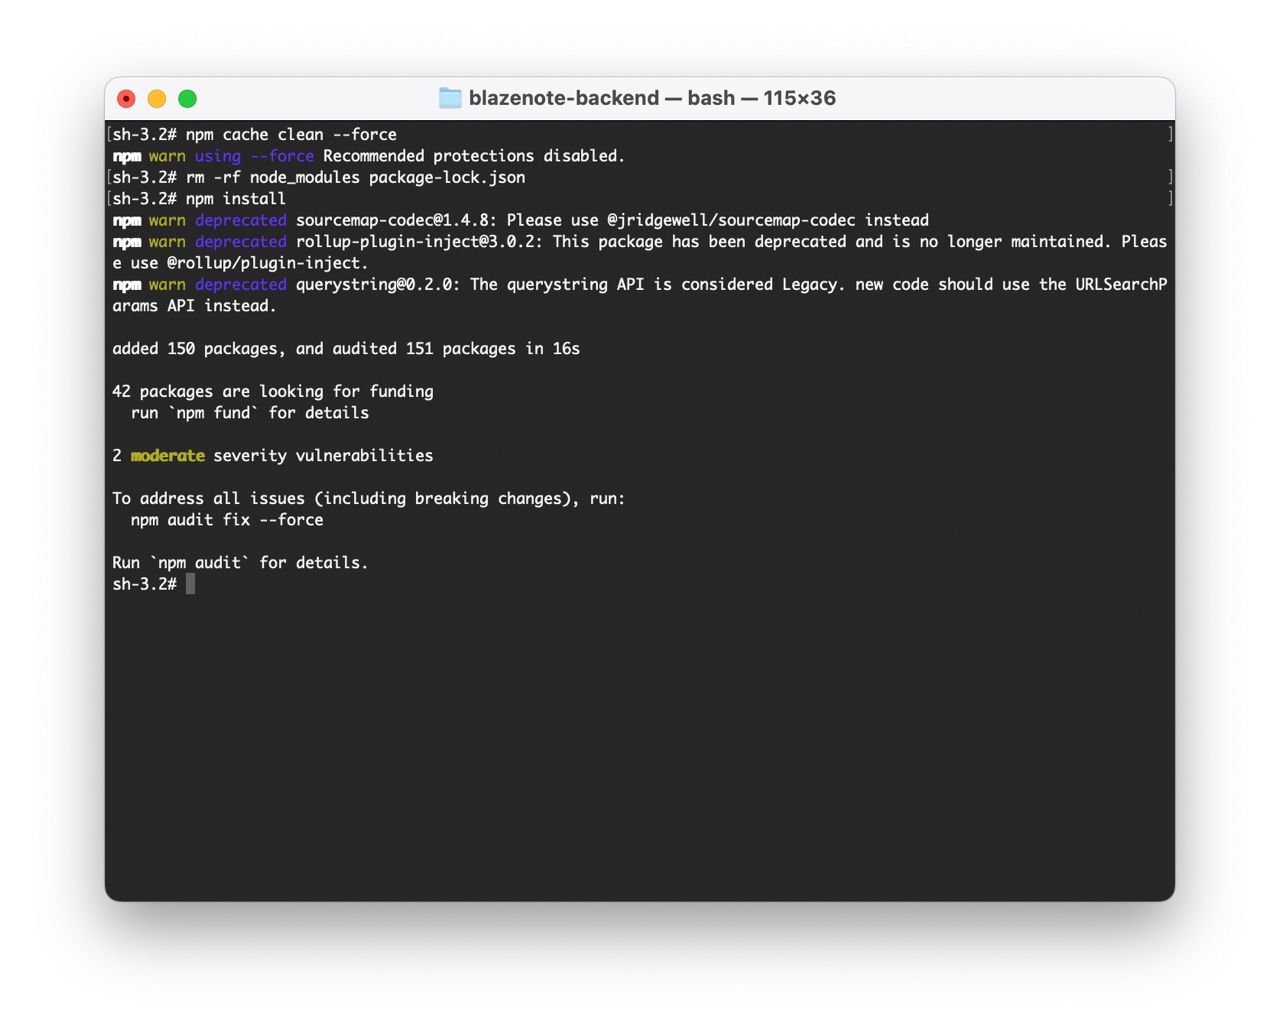
Dependency Installation Problems
"npm install" fails:
# Clear npm cache
npm cache clean --force

# Delete node_modules and try again
rm -rf node_modules package-lock.json
npm install
Permission errors:
# Fix npm permissions (Unix/macOS)
sudo chown -R $(whoami) ~/.npm

# Or use a different npm directory
mkdir ~/.npm-global
npm config set prefix '~/.npm-global'
export PATH=~/.npm-global/bin:$PATH
Development Server Issues
Port already in use:
# Find and kill process using port 5173
lsof -ti:5173 | xargs kill -9

# Or use a different port
npm run dev -- --port 3000
Module not found errors:
- Ensure you're in the correct directory
- Run
npm installagain - Check that
node_modulesfolder exists
TypeScript Errors
Type checking fails:
# Regenerate TypeScript declarations
npm run types

# Check TypeScript version
npx tsc --version
What's Next?
Congratulations! 🎉 Your development environment is now configured and ready.
You have successfully:
- Installed all development tools
- Set up GitHub and Cloudflare accounts
- Forked and cloned project repositories
- Verified your complete system setup
- Authenticated with all necessary services
Next Steps:
- Begin Module 1: Frontend Deployment - Install frontend dependencies and deploy
- Continue with Backend Deployment - Install backend dependencies and deploy
- Start building your note-taking application on Cloudflare's global network
Development Workflow
Typical workflow after completing deployment modules:
- Navigate to your project directory
- Pull latest changes:
git pull origin starter - Install/update dependencies:
npm install - Start development server:
npm run dev - Make your changes
- Test locally
- Deploy using
npm run deployornpx wrangler deployvia Cloudflare Workers
Need Help?
Environment Issues:
- Check the Troubleshooting Guide
- Ensure all prerequisites are properly installed
- Verify internet connection for package downloads
Development Issues:
- Read error messages carefully
- Check that you're in the correct directory
- Ensure development servers aren't already running
You're now ready to start building amazing applications with Cloudflare! 🚀